


Magnetic Hanger Frame
Magnetic Hanger Frame
Impossible de charger la disponibilité du service de retrait
Magnetic Hanger Frame
Material
Material
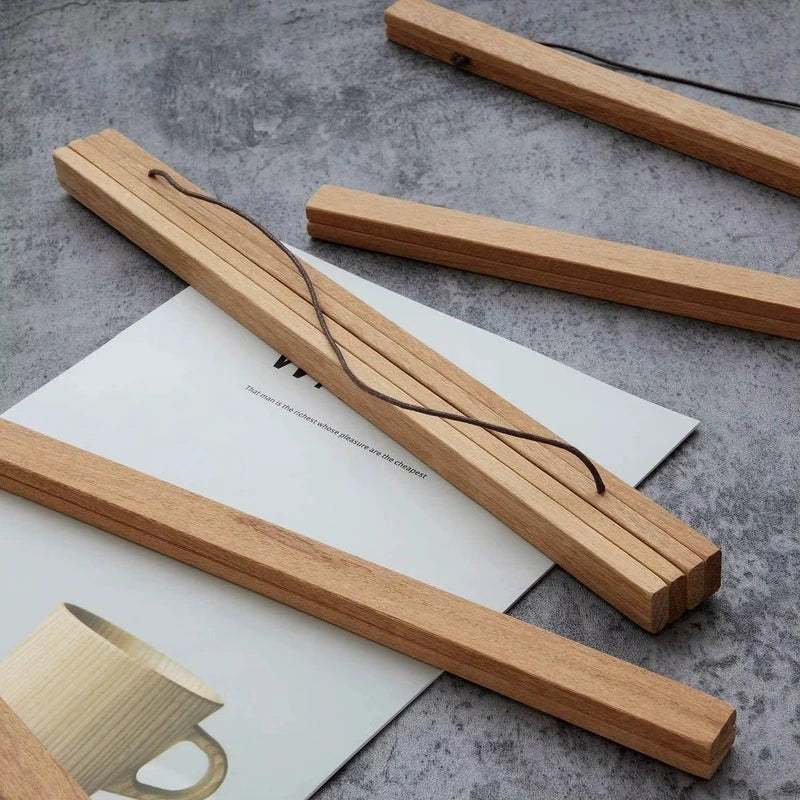
Natural Wood – Two types of real wood offer a clean, organic look.
Built-In Magnets – Secure hold without damage or visible hardware.
Eco-Friendly Finish – Safe, non-toxic coating that lasts over time.
Usages
Usages
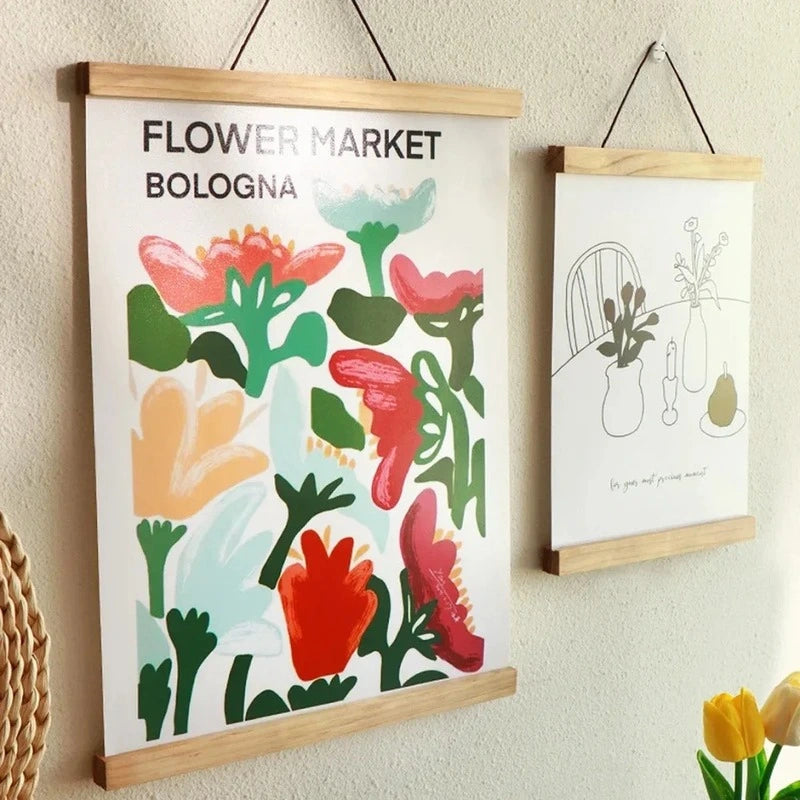
Ideal for displaying posters, prints, photos, and fabric artwork.
Suitable for home, office, studio, or as a thoughtful gift.
Perfect for those who enjoy switching out artwork frequently.
Specifications
Specifications
Available in multiple lengths ranging from 21 cm to 50 cm.
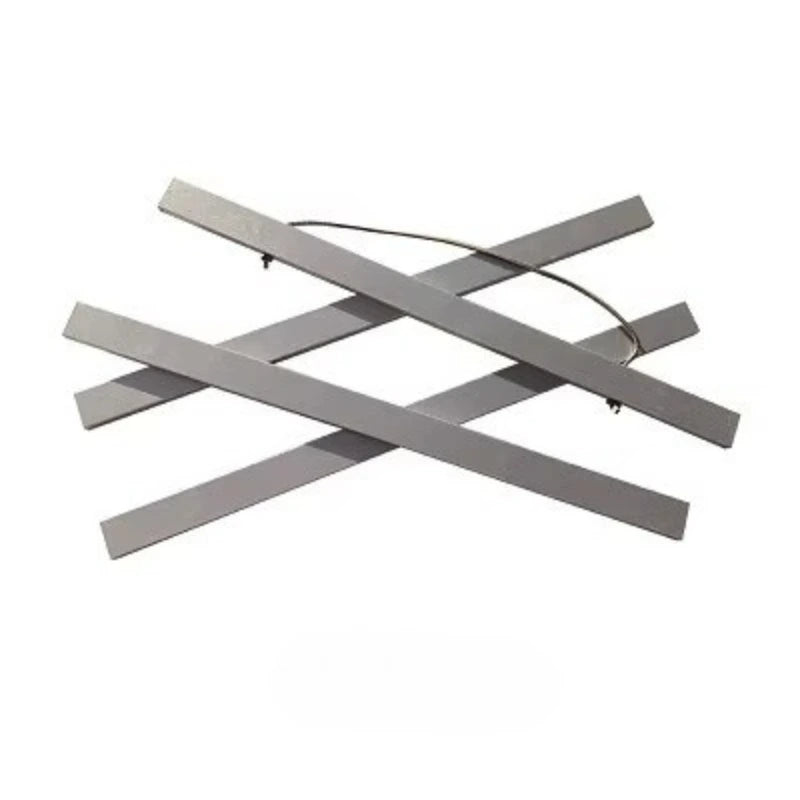
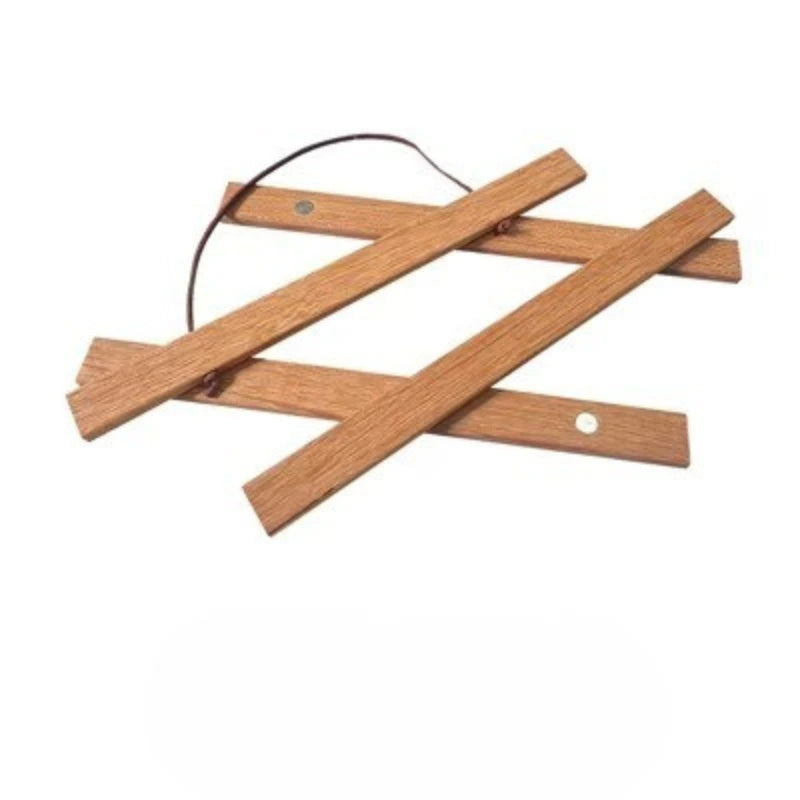
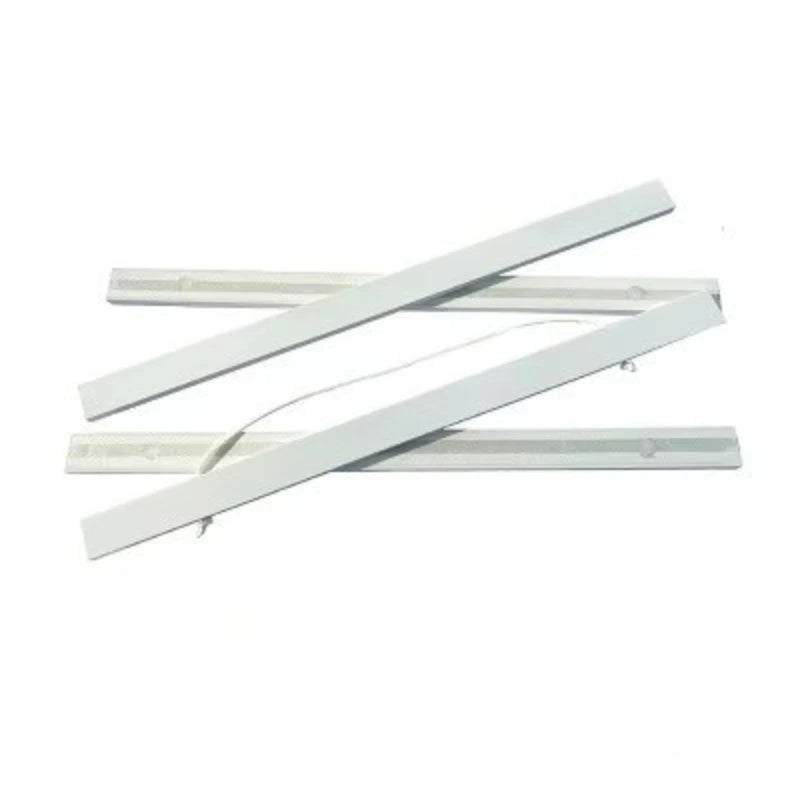
Made from two types of high-quality natural wood.
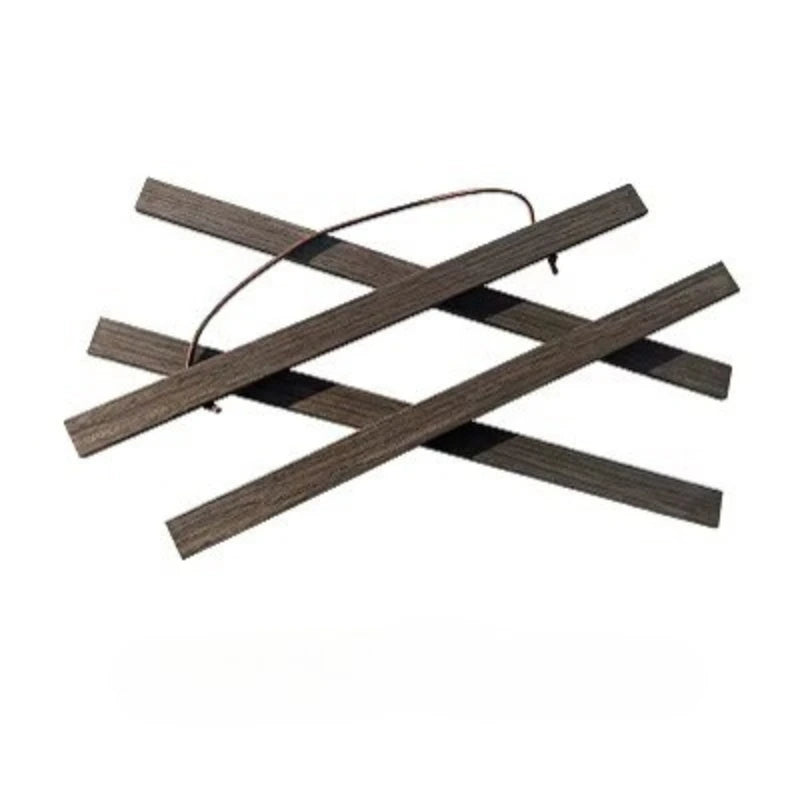
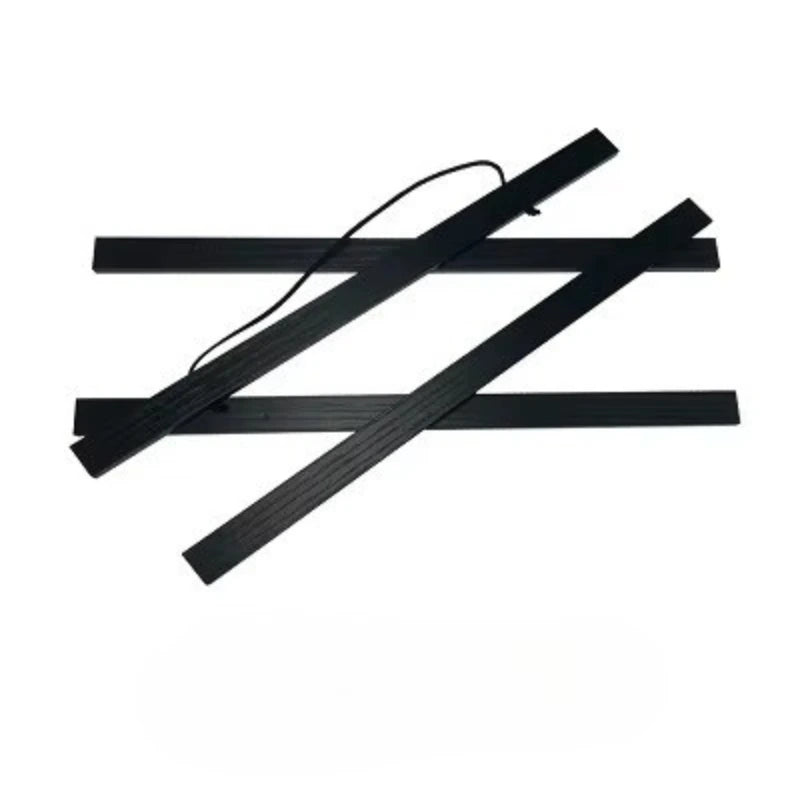
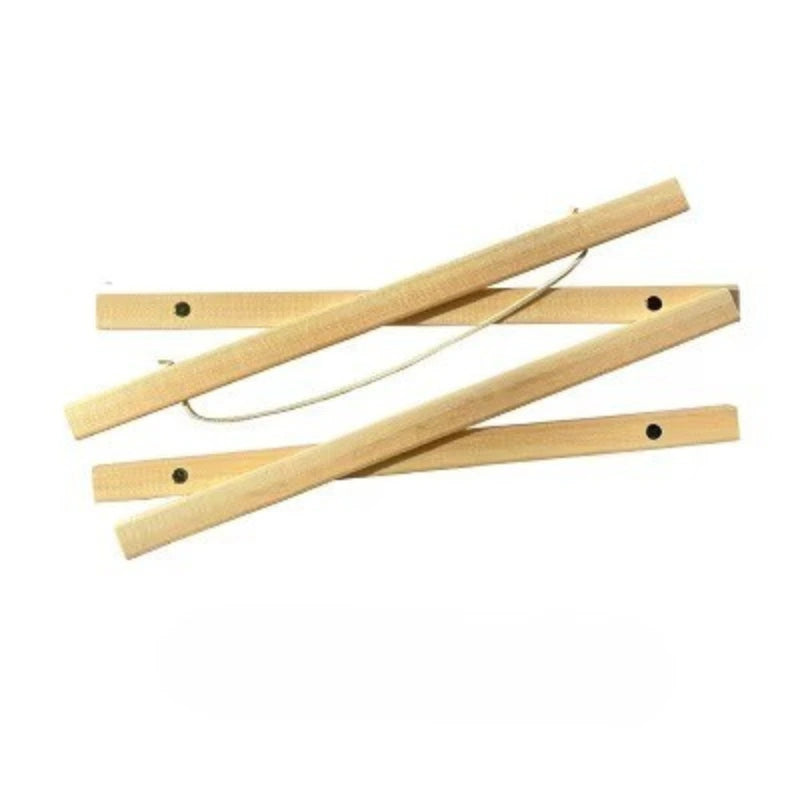
Includes four magnetic wooden strips and a hanging cord.
Custom sizes available upon request.
Accessories
Accessories
No separate accessories are included; all necessary parts are built into the frame.


step-by-step guide
Frame Installation for Your Artwork
-

Preparing the frame strips
Start by separating the four wooden strips—two for the top and two for the bottom. Each pair includes a front and back piece with built-in magnets. Make sure the top back strip has the hanging cord, which will be used to hang the frame. Lay all the pieces and your canvas on a clean, flat surface before you begin.
-

Framing the top edge
Place the top back strip with the hanging cord underneath the top edge of your canvas. Adjust the canvas to make sure it’s centered and straight. This will help ensure that the final display hangs evenly and looks clean.
-

Putting the top strip
Align the front top strip over the canvas and let the magnets snap into place. Next, repeat the same process for the bottom edge: place the bottom back strip under the canvas, then snap the front bottom strip on top to secure it. The magnets will hold the canvas firmly, without damaging the material.
-

Hanging the frame
Use the cord attached to the top back strip to hang your canvas on a wall hook or nail. Step back and check the alignment—your artwork should now be beautifully framed and ready to enjoy. For best results, hang it in a well-lit space to highlight the piece.


Why Frame This Way
- Showcases your artwork with a modern, minimalist aesthetic.
- Lets you switch prints easily without tools or damage.
- Lets you switch prints easily without tools or damage.