Canvas Framing Guide

Learn how to frame canvas art with ease. Our step-by-step guide covers magnetic hangers, DIY wooden frames, and aluminum frames—everything you need to display your canvas prints beautifully.
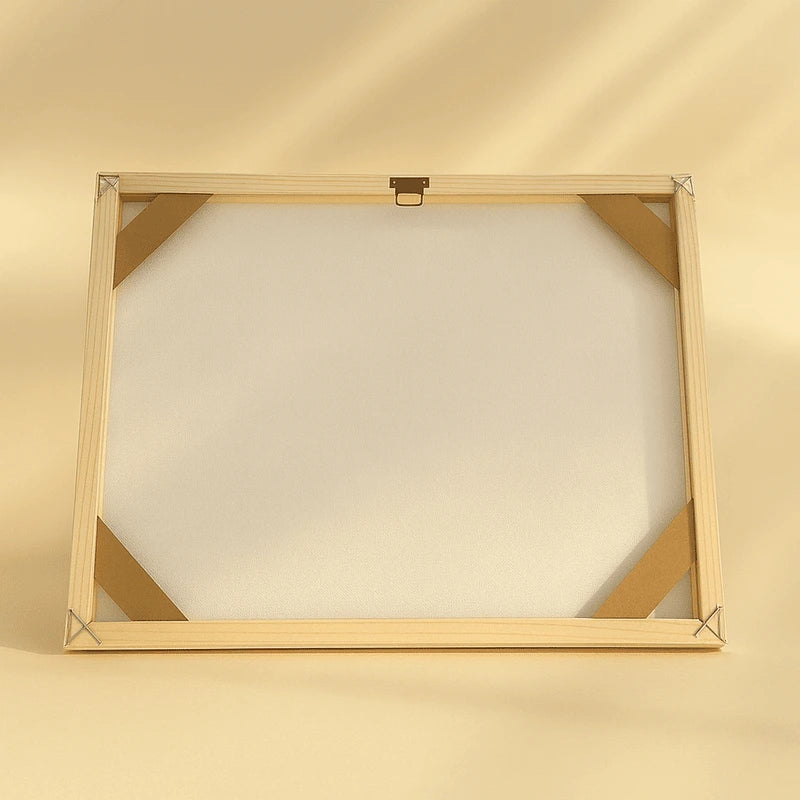
DIY Wooden Frame
Our DIY wooden frame is crafted from sustainable wood with sturdy construction and a natural grain finish—offering durability, eco-friendliness, and a warm organic look for your canvas art.
-

Sizing the frame correctly
When selecting a frame, choose a size that is 5 cm (≈ 2 inches) smaller than your canvas in both width and height. For example, if your canvas size is 40 × 50 cm (16" × 20"), the correct frame size will be 35 × 45 cm (14" × 18").
-

Drawing the guidelines
Start by laying your canvas face down on a clean surface. Using a pencil or marker, draw a guideline along each edge to mark where the frame bars will go. Each bar is 3 cm thick, so the lines you draw should match that exact width.
-

Positioning the wooden bars
Once the guidelines are marked, place the four wooden bars along the edges of the canvas, aligning them carefully within the lines to form the full frame.
-

Adhering the frame to the canvas
Peel off the adhesive backing and press each bar firmly onto the canvas, keeping them aligned within the drawn lines. A 0.5 mm gap will remain between each corner for a clean fit.
-

Reinforcing the frame corners
Insert a U-shaped pin into each corner where the bars meet, then lightly tap the wood holders into place using a hammer to add stability.
-

Securing the canvas to the frame
Using the push pins included in the parcel, press them through the back side of the canvas into the wooden frame. Insert the pins across the entire back area to ensure the canvas is firmly attached and securely held in place.
-

Attaching the hanging hooks (optional)
As a final optional step, if you wish to hang the artwork, attach the two hooks using the included screws.


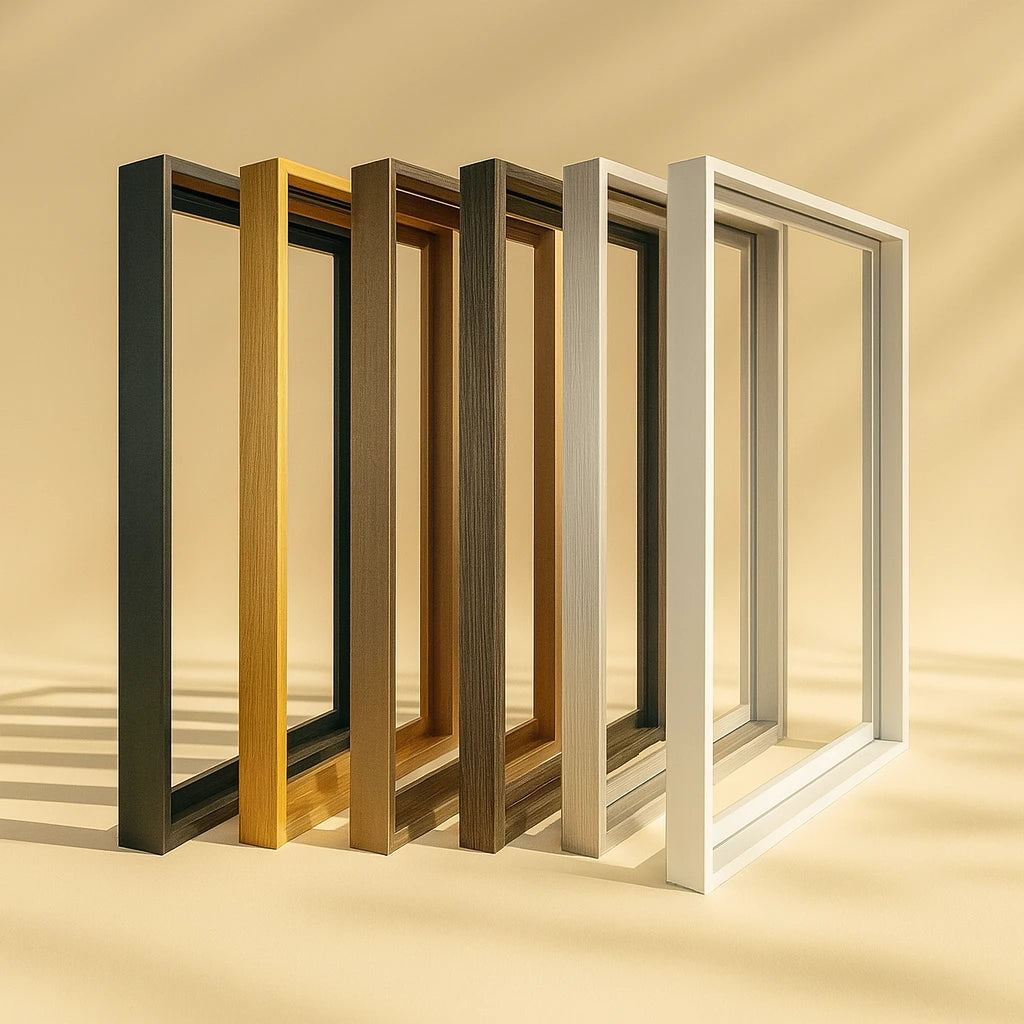
DIY Aluminum Frame
Our DIY aluminum frame is made from lightweight yet durable alloy with a sturdy build and a corrosion-resistant finish—offering strength, longevity, and a sleek modern look for your canvas art.
-

Preparing the frame and accessories
Check that your inner frame is 1–2.3 cm thick and matches the outer frame size. Lay out all parts from the accessory bag.
-

Preparing the corner brackets
Each corner uses two bracket pieces. Place the one with the hole below and the one with screws on top.
-

Installing the first corner brackets
Slide both pieces into one aluminum bar—first the hole piece, then the screw piece. Tighten the screws. Repeat on the other end and a second bar.
-

Repeating on other sides
Repeat this process for the opposite end of the same bar, then repeat on a second aluminum bar to complete two sides of the frame.
-

Connecting the bars
Attach the two bars without brackets to one of the bracketed bars to form a U-shape with three connected sides.
-

Inserting the inner frame
Carefully place the inner frame or artwork inside the assembled outer frame section, making sure it fits snugly and sits evenly.
-

Attaching the final bar
Connect the last bar to close the frame. Make sure all corners are aligned and tight.
-

Adding hooks and adjusting fit
If desired, install the hanging hooks. Use the included tension plates to tighten the space between the inner and outer frames for a secure hold.


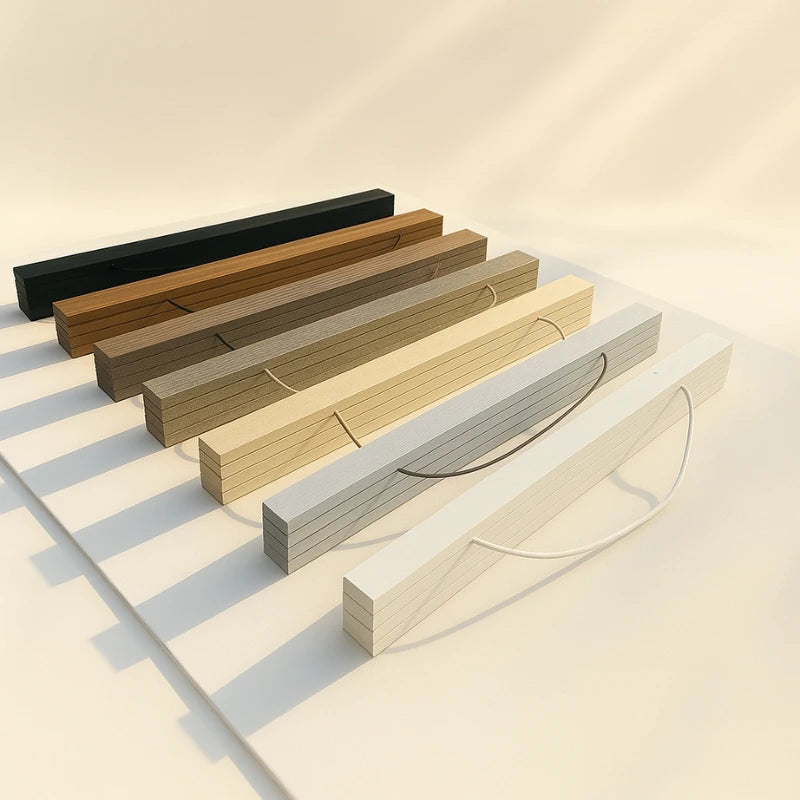
Magnetic Hanger Frame
Our magnetic hanger frame is crafted from natural wood with a clean, organic look. Built-in magnets provide a secure hold without damage, while its eco-friendly finish ensures lasting quality.
-

Preparing the frame strips
Separate the four wooden strips—two top, two bottom. Ensure the top back strip has the cord. Lay all parts and your canvas flat on a clean surface.
-

Framing the top edge
Place the top back strip (with cord) under the canvas edge. Center and straighten it for even hanging.
-

Putting the top strip
Place the front top strip over the canvas and let the magnets connect. Repeat for the bottom edge to secure the canvas firmly.
-

Hanging the frame
Use the cord to hang your canvas on a wall hook. Adjust if needed—your artwork is ready to display.


